Assembly Copy
Click here to Download 3d Printable Files
Assembly eye-tracking
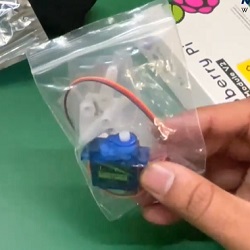
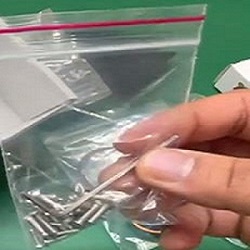
List of the things that you must need for assembly of eye-tracking


Step.1
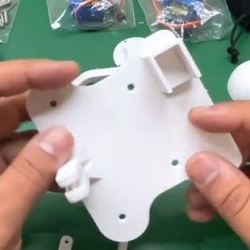
Remove the extra stuff & print hairs from the printed parts carefully.

Step.2
Remove the internal support structure of eyeballs. (Be careful while doing this hardness might be dangerous)


Step.3
Insert the lens in the ball from the front by pushing it in with little force.


Step.4
Now attach the raspberry camera


Step.5
Now put the raspberry camera in the eyeball and fix the backplate with M2 bolts


Now we will attach the vertical servo motor to the base. Now tighten the bolts of motor


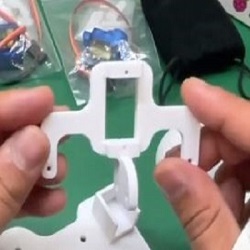
Step.6
Attach the second motor to the horizontal surface gently and politely, make sure nothing is going
to break.


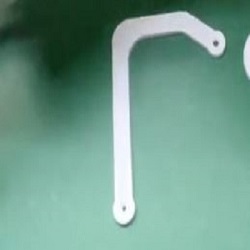
Step.7
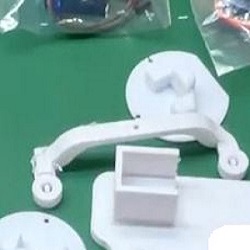
Now attach the horizontal server holder to the main base surface. And now use the M3 bolt in the joint. Tight them and make sure there is no ply in the joint.

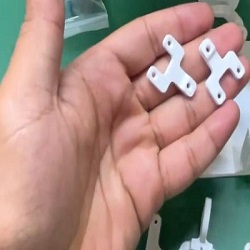
Step.8
Attach the joints to the eyeballs.

Step.9
Now attach both eyeballs to the surface body with a bolt, make sure that the ball is free to move left
and right.


Step.10
Make sure that both balls can move freely up, down left, and right.

Step.11
Now connect both balls with each other with the help of M3 bolts and joints.

Step.12
Make sure that both eyes are moving with each other and smoothly

Step.13
Now attach the vertical part with the base and the Horizontal server with an M3 bolt.
But we will keep it loose for a free move.

Step.14
Attach top server with the base motor and will attach with an M2 bolt. We will use the second hole of
the supporting strip.
